We are a leading mobile app development company in India and very well known for working on the most complex mobile app requirements.
In one of our mobile app projects, there was an important where the user could take a picture using a camera or select a picture for the gallery and should be above to remove the background. This mobile application needed to be developed on two platforms:
The application has to be developed using the React native framework so that we can use the native functionality of Android and iOS devices.

We searched many libraries in React native packages and on npm but none of them provided any solutions to remove background images. We also tried to find some third-party API providers, we found one or two and they were too costly. Finally, we decided to build the solution in-house and roped in our top developers who are very well-known app developers in India to work on highly challenging tasks.
- Introduction
- Setup
- Project Setup
- Install required Python modules
- Writing the actual code
- Complete Code
Introduction
Based on the challenges and after evaluating various technologies we selected Python as a programming language for this task. One more reason for selecting Python is that we have very good technical expertise in Python language and have done many projects using Python frameworks.
Setup
In this how-to tutorial, I am using MAC OS that has a similar terminal and commands in Linux. The commands on Mac OS and Linux-based systems are almost similar.
You can install Python 3 which is the latest stable version for this project. The below steps are prerequisites for installing Python on your Mac OS. In this how-to when I say Python I mean Python 3
Install Xcode
Xcode command line tools are required, you might already have Xocde and Xcode command line utilities on your MAC, if not then you can get and install them from the Apple store.
Install Home Brew
Home Brew is a package manager for your MAC OS and installing Brew is simple very simple.
- Launch terminal
- Install HomeBrew using the below command
/usr/bin/ruby -e "$(curl -fsSL https://raw.githubusercontent.com/Homebrew/install/master/install)"
Installing Python3 with brew
To install python3, open the terminal on your Mac and enter the below command
brew install python3
Install pip3 with brew
Pip3 is a package manager for Python. All the packages required for this project we will install using pip3. To install open your Mac terminal and enter
brew install pip3
Project Setup
Create a new folder, you can give any name to the folder. I have given the name imagebg
Inside your created two folders create one file and two folders
- removebg.py - This is the file where we will write all the Python code.
- input folder - We will keep one image in this folder and will work on that image.
- output folder - once we process the image using Python, we will save the processed image in the output folder.
At this point in time, your folder structure should look like as given in the below image.

Editor
I am using VS Code as an editor. But you can use any editor that you prefer.
Install required Python modules
For this project, we will need two models
Installing using pip
The best way to install Python packages is by using pip. Simply open the terminal and enter
pip3 install rembg
pip3 install PIL
rembg is one of the most popular libraries and tools to remove image backgrounds from a given image. PIL is an image-processing library and has very powerful image-processing capabilities.
Writing the actual code.
Now it's time to write the actual code for removing the background project. Before writing the code make sure you have one image in your input folder. We will be using this image to process it and save it into the output folder after removing the background from the image.
Import require modules
In your Python scrip file import rembg and PIL modules at the very top of the file.
from rembg import remove
from PIL import Image

We will import rembg modules and use the remove class of rembg module.
From the imported PIL module we will use the Image class of the modules.
Image path
The next step is to create the input path and output path of the image. The input path is from our code will read the image and the output path is the path where our code will process and save the image after removing the background image from the image.
input_path = "input/cat.jpg"
output_path = "output/cat33.png"

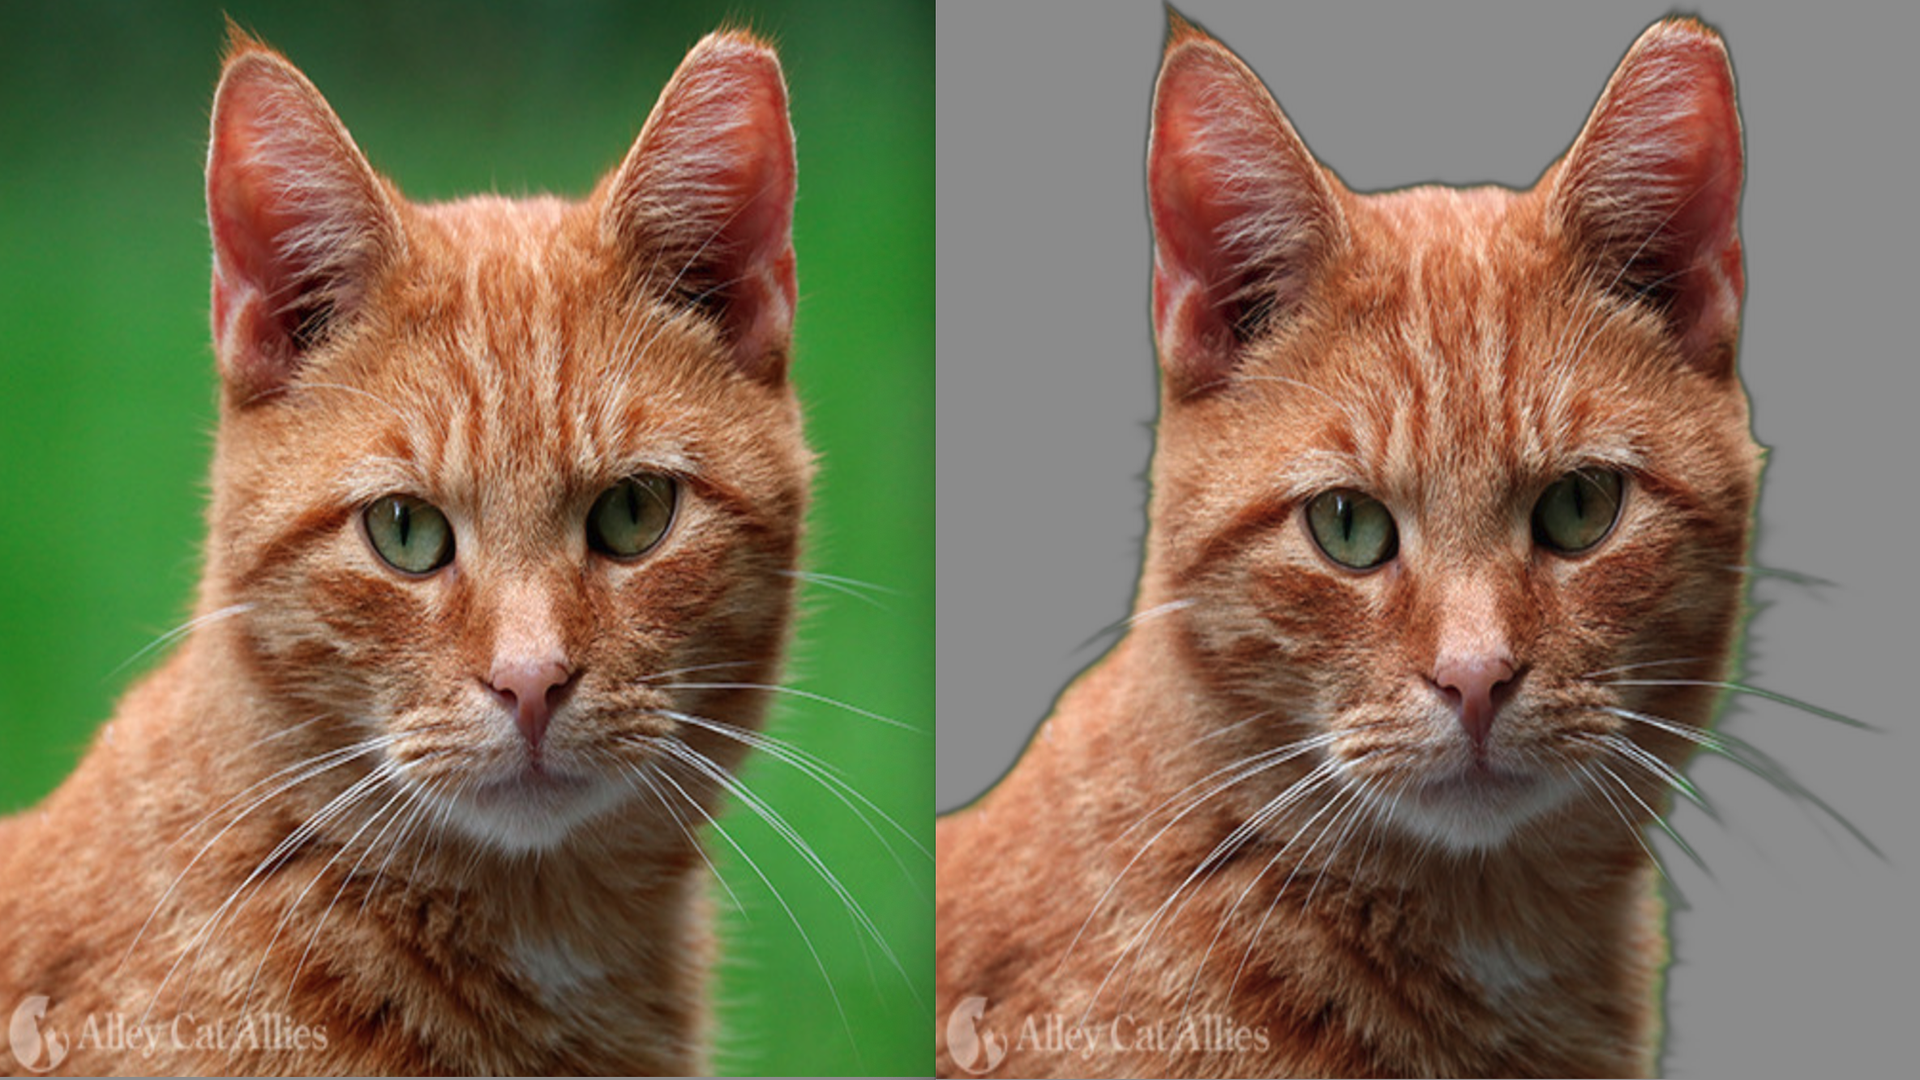
Here my cat.jpg image file is inside the input folder. The code that we will write will process the input image and the processed images to the output path with the name cat33.png
Open the image
Now we will open the image that needs to be processed by using the Image class of the pilow library use the open function and provide the image path for the open function.
image_input = Image.open(input_path)

Remove Background Image
The next step is to process and remove the background image and for this will use the remove function. The remove function uses the image path as a parameter so we will give the image path to the remove function.
output = remove(image_input)

Save Image
Time to save our image to the output folder. We will call the save function and provide the path where we want to save the processed images as a parameter to the function.
output.save(output_path)

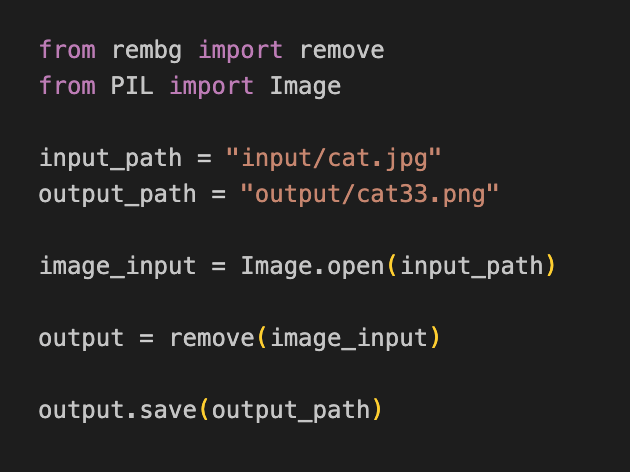
Complete Code
from rembg import remove

from PIL import Image


input_path = "input/cat.jpg"

output_path = "output/cat33.png"


image_input = Image.open(input_path)


output = remove(image_input)


output.save(output_path)

Watch the video tutorial
About Author
Brijesh has 15+ years of experience and works as a Python developer with App Developers India. He is very well known for working on complex projects and loves working with clients.
Your choice of weapon
Build your Apps for any Platform
We to code. It's our passion


you can also reach us at our given
email address or phone number.


